
Star Vs. The Forces Of Evil Prop

Materials
BondoCraft Wood4" Floral Foam Ball
PLA 3D filament
Smooth-On Oomoo25
Amazing ResinCrylon
Clear Coat
Crylon Paint
BASIC Acrylic paint
400 grit Sandpaper1200 grit Sandpaper
Step 1: Bondo for Props?!
Bondo for Props?!
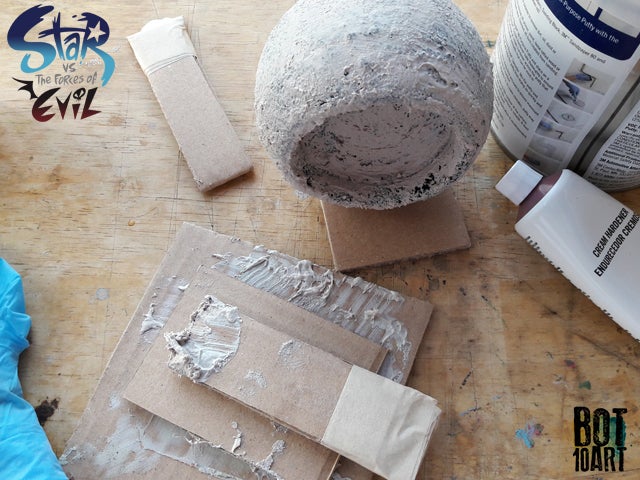
I purchased a 4" floral foam ball, a wooden dowel rod, and some scrap pieces of wood.
I shaped the ball and applied Bondo that I had in the shop. Once the Bondo cured I attached the rod and once that was cured I began to sand the pieces.
Step 2: Sand, Prime, Sand, Prime...
Sand, Prime, Sand, Prime...
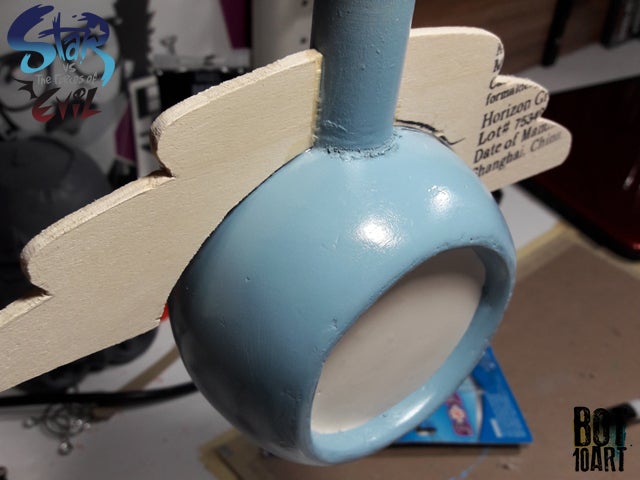
Once the prop was sanded using wet / dry sandpaper from 400 to 1200, I primed the piece and began to add the pieces that accompany the prop.
I used crafting wood to make the wings for the prop. The cut was not so precise so I filled in the gaps using more Bondo.

Step 3: 3D Printed Parts
3D Printed Parts
Once the wings were sanded smooth I then printed out 3D parts using my Anet A8 printer.
I sanded and primed the pieces and then attached them to the prop.
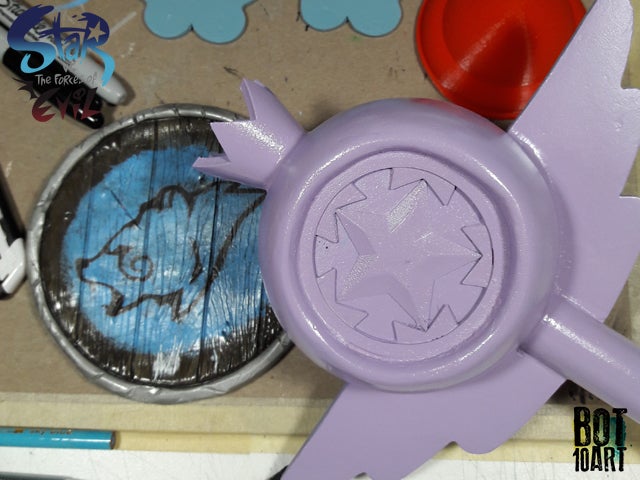
I then used Original Sculpey to model the butterflies that go on the front and back of the wand. I made a mold of the butterfly using Smooth-On Oomoo25 and Amazing Resin, then gave the wand another coat of Primer.
Step 4: Assembly and Paint
Assembly and Paint
Once all the pieces were painted and ready, I assembled the pieces and painted the wand.
I then used a Matte Clear Coat spray paint to seal in the paint and protect the prop.

Step 5: STEP 05 All Done!
Lastly I painted the fine details and the wand was done!

Comments
Post a Comment